Why wallet migration carries real risk
Moving crypto from one wallet to another is one of the most dangerous operations in self-custody. A single wrong address, a phished seed phrase entry screen, or a malicious clipboard-swapping app can result in irreversible loss. Unlike a bank transfer, there is no fraud department and no chargeback. Understanding the mechanics before you move a significant balance is essential.
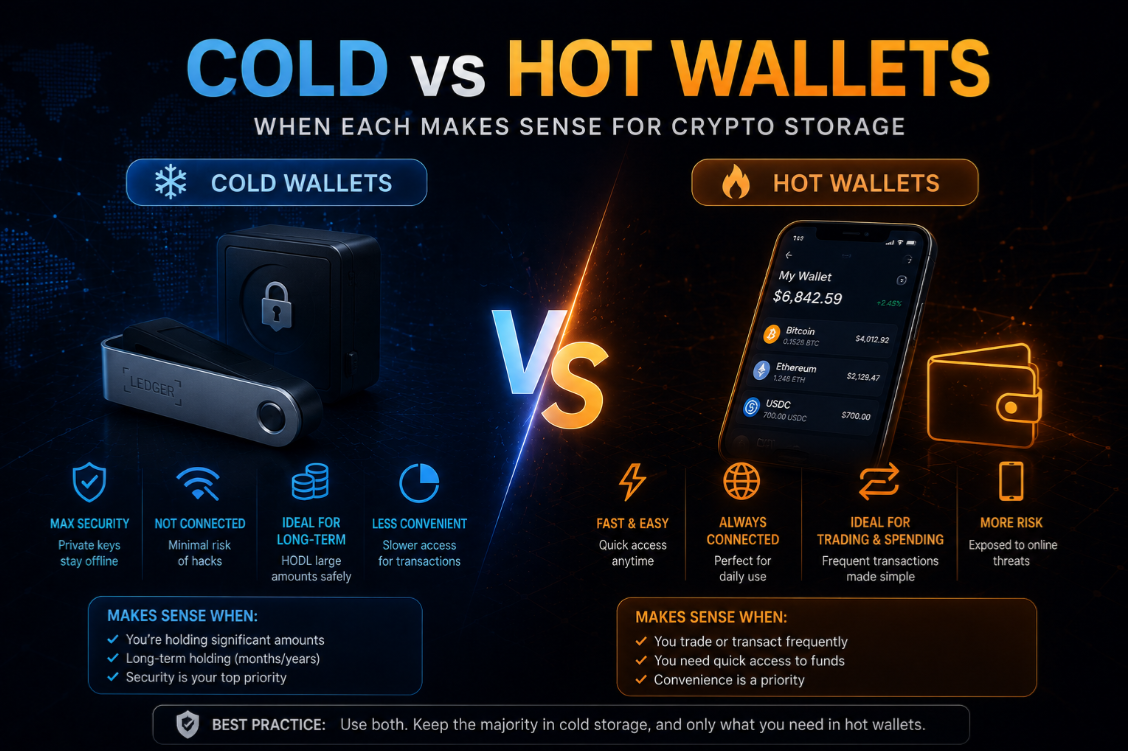
The most common migration scenarios are: upgrading from a software wallet to a hardware wallet, moving from one hardware device to another, switching from MetaMask to Rabby or another multi-chain wallet, or consolidating multiple wallets into a single managed account like Safe.
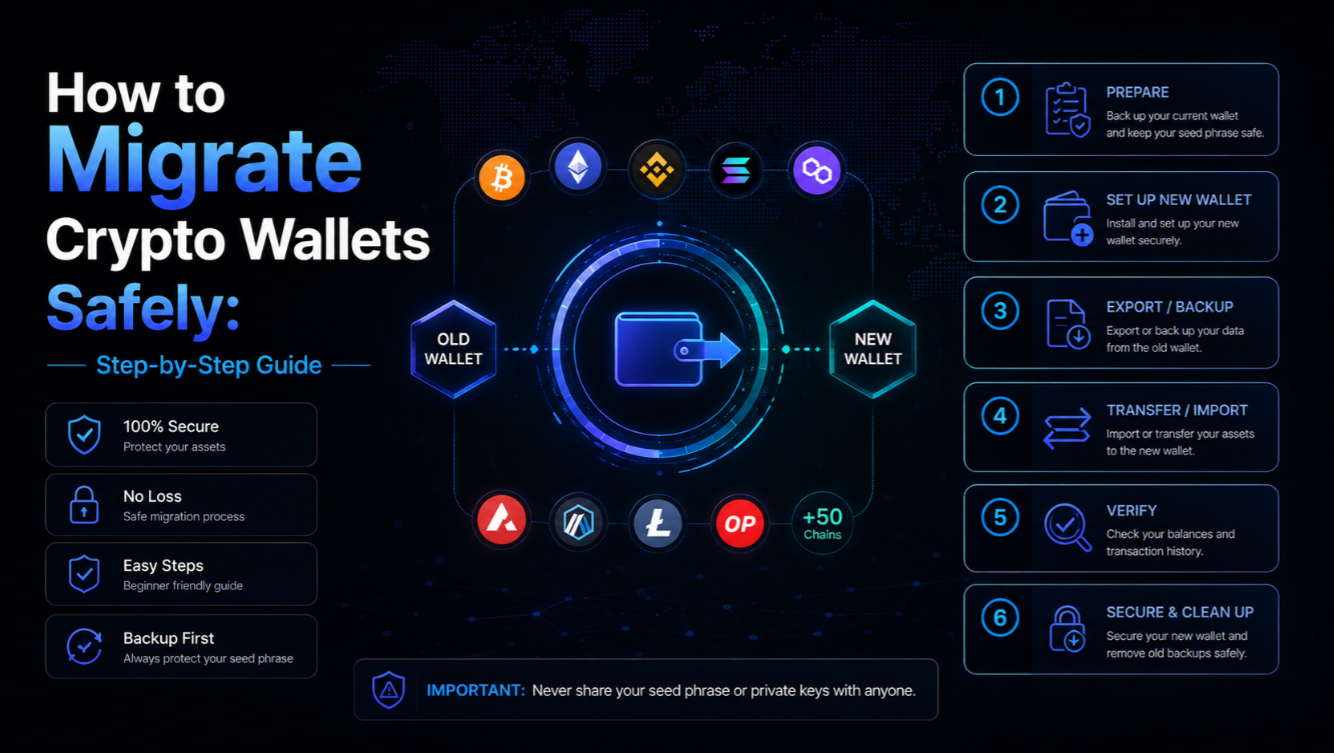
Step 1 — Verify your new wallet before moving funds
Never move funds to a new wallet before confirming it is fully under your control. Generate the new wallet, write down the seed phrase on paper (never digital), and then immediately test recovery by wiping the device and restoring from the seed phrase. This single test confirms that you actually hold the keys before any value arrives.
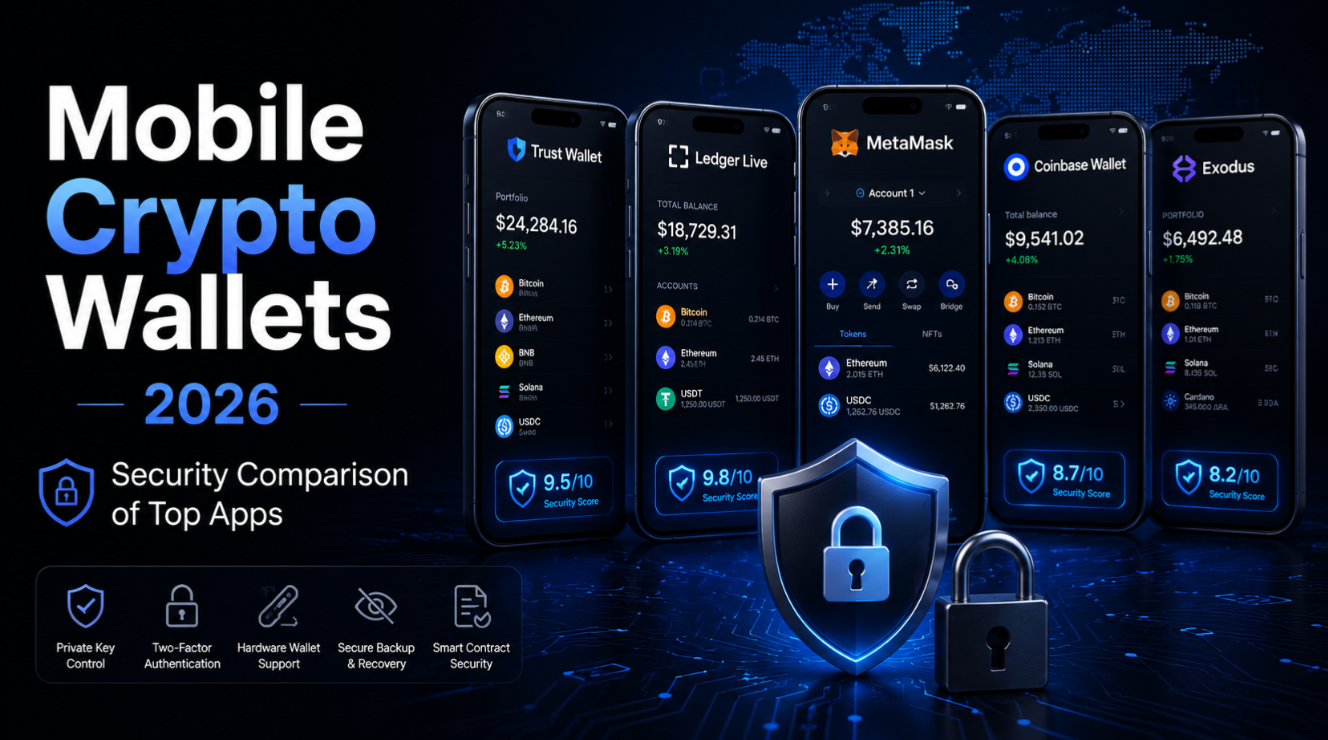
For hardware wallets, verify that the device was not tampered with in transit. Legitimate Ledger and Trezor devices never show a pre-configured seed — if a device arrives with a "ready to use" seed already written on a card in the box, it has been compromised. Our Ledger review covers physical verification steps in detail.
Step 2 — Audit your existing wallet before migrating
Before moving funds out, review all token approvals on your current wallet. Use a tool like Revoke.cash or the Rabby wallet's approval manager to see which smart contracts have unlimited spending permission on your tokens. Migrate to a clean wallet rather than carrying compromised approvals with you. See our Rabby wallet review for its built-in approval scanning feature.
- Check token approvals using Revoke.cash or Rabby approval manager.
- List all active DeFi positions: staked tokens, LP positions, lending collateral.
- Document NFT holdings across all contracts.
- Note any active governance votes or time-locked positions.
Step 3 — Exit DeFi positions before migrating
Smart contract positions are tied to the originating wallet address. Staked tokens, liquidity pool shares, and lending collateral cannot simply be "moved" — they must be withdrawn to the originating address first, then transferred to the new wallet. Attempting to migrate while funds are locked in a protocol can leave them inaccessible.
For each DeFi protocol you use: unstake or withdraw liquidity, claim any pending rewards, repay any outstanding loans (or transfer collateral position if the protocol supports it), and confirm the funds are back in your wallet as plain tokens before proceeding.
Step 4 — Send a test transaction first
Before sending your entire balance, send a small test amount — $10 to $20 worth — to the new address. Verify the funds arrive in the new wallet. Check that you can sign a transaction from the new wallet. Only after this confirmation should you proceed with larger transfers.
Double-check the recipient address every time you paste it. Clipboard-hijacking malware silently swaps copied addresses for attacker-controlled ones. Verify the first four and last four characters against a source you trust — the wallet's own QR code is the safest confirmation method.
Step 5 — Migrate tokens in order of value
Move your largest holdings last, after you have confirmed the process works for smaller amounts. A sensible order: native gas tokens first (ETH, SOL, BNB) to ensure the new wallet can pay fees for subsequent transactions, then stablecoins, then other tokens, then NFTs.
- Native tokens: Move first to fund gas fees in the new wallet.
- Stablecoins: Move second — large value, predictable behaviour.
- ERC-20 tokens: Move individually or batch if the new wallet supports multi-send.
- NFTs: Transfer last — higher risk of gas spikes during transfers.
- LP tokens / receipt tokens: Withdraw from protocols first; these are not transferable as positions.
Cross-chain migration: moving assets between networks
If you are migrating from a wallet on one chain to a wallet on another chain, you cannot simply send tokens across networks. Assets on Ethereum cannot be sent directly to a Solana address. You need a bridge or a centralised exchange. Use a reputable bridge (Stargate, Across, Hop) and verify the bridge's audit status before bridging significant amounts.
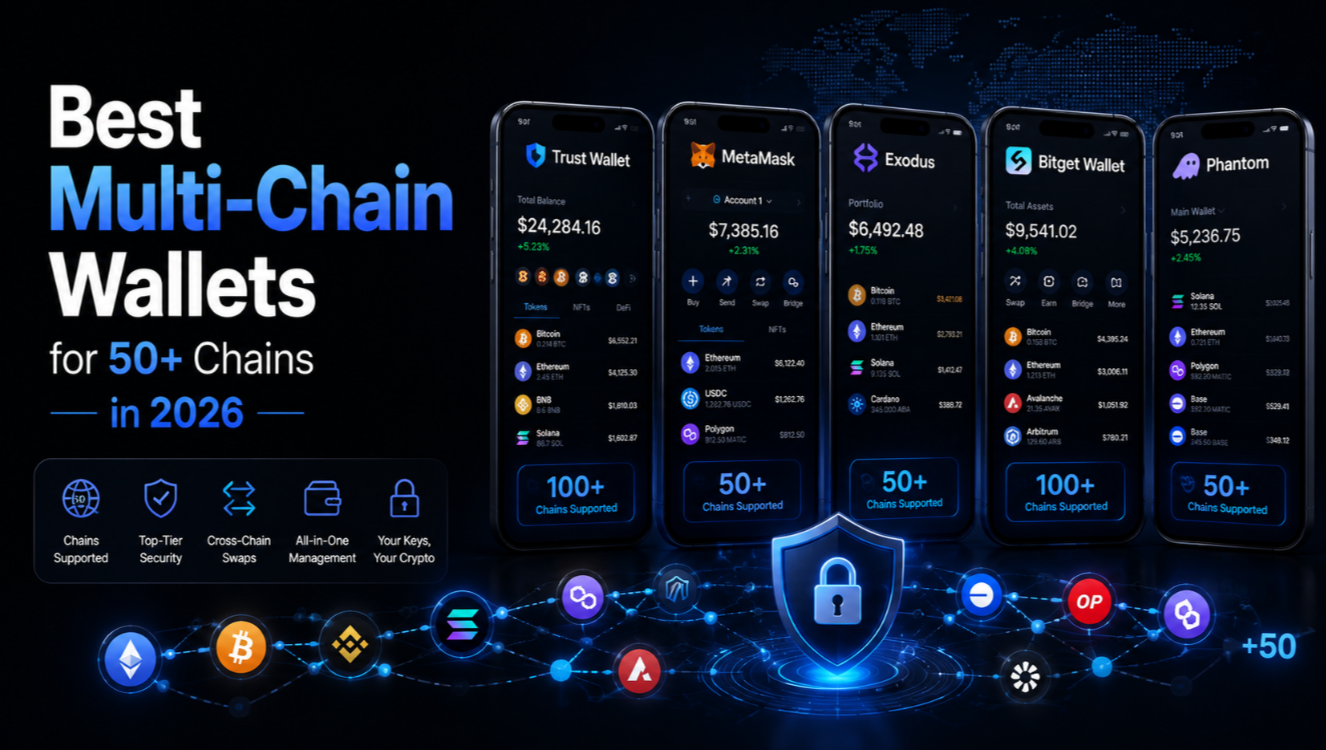
A safer approach for cross-chain migration: sell on the source chain via a DEX, bridge stablecoins (lower risk than bridging volatile tokens), buy back on the destination chain. This is more expensive but avoids bridge-specific smart contract risk. For multi-chain wallet management, see our wallet ratings comparison.
Migrating from MetaMask to Rabby
Rabby is a direct MetaMask replacement — it uses the same EOA key format and supports the same browser extension interface. Migration is not a fund movement: you import your MetaMask seed phrase into Rabby (or create a new Rabby wallet and transfer funds). The recommended approach is to create a fresh Rabby wallet rather than importing a seed phrase you have ever used online, then transfer funds via test transaction first.
Rabby adds pre-transaction simulation, approval scanning, and multi-chain balance display without requiring a new wallet address. Our Rabby review covers the full setup process.
Migrating from MetaMask to Phantom (for Solana)
Phantom manages Solana, Ethereum, and Polygon wallets in a single interface. Ethereum assets from MetaMask can be imported into Phantom using the same private key. Solana assets require a separate Solana seed phrase. For Solana-native migration, see our Phantom review — it covers Solana-specific migration from older wallets like Solflare.
After migration: security hygiene
Once migration is complete, retire the old wallet. Revoke all remaining token approvals on the old address, remove the wallet from your browser extensions, and store the old seed phrase securely in case you discover missed assets later. Do not reuse the old address — treat it as permanently compromised once you have shared the seed phrase with any migration tool.
- Revoke all approvals on old wallet via Revoke.cash.
- Check for forgotten tokens on all chains using a multi-chain portfolio tracker.
- Store old seed phrase in a separate secure location — do not destroy it immediately.
- Update any DeFi positions or exchange withdrawal addresses to the new wallet.
- Enable 2FA on any CeFi accounts linked to new wallet addresses.
Hardware wallet migration between devices
Migrating from one Ledger or Trezor to another requires only your original 24-word seed phrase. Generate the new device, restore from seed, and both devices will show the same addresses and balances — no fund transfers required. However, if your old device was compromised or the seed phrase was exposed, create a brand new seed phrase on the new device and perform a full fund migration as described above.
This article is for educational purposes only. Always verify addresses independently and test with small amounts before moving significant holdings. Crypto transactions are irreversible.